In this guide we are going to show you two methods to check update history on Windows 10 desktop PC or laptop so that you can know exactly which updates are getting installing on your device. Keeping track of installed updates come in useful when a newly installed updates starts causing issues on your device and requires last working update to be reinstalled until the problem with the new updates gets fixed by Microsoft.
Windows 10 has a feature that lets you see all updates ever pushed to your computer, which is useful if you want to check the status of updates whether they have been properly installed or not. Update history on Windows 10 also gives you more detailed overview regarding all the information about an update, which you can use to identify faulty updates and uninstall them and restore the previously working update to resolve any performance issue that you device might have been experiencing since the new update.
In this guide below, we are going to explain two method you can use to check Windows 10 update history. First method involves the use of the Settings app and the other one uses Command Prompt.
How to Check Update History on Windows 10 in Settings
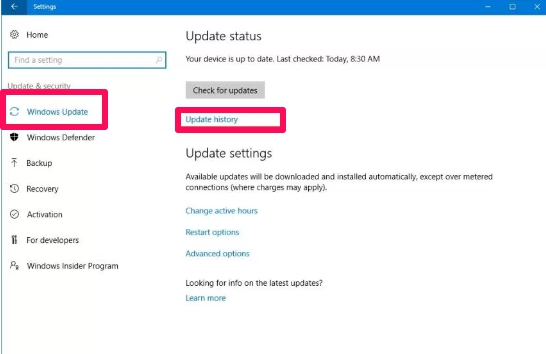
1 – Open Settings.
2 – Click on Update & security.
3 – Click on Windows Update.
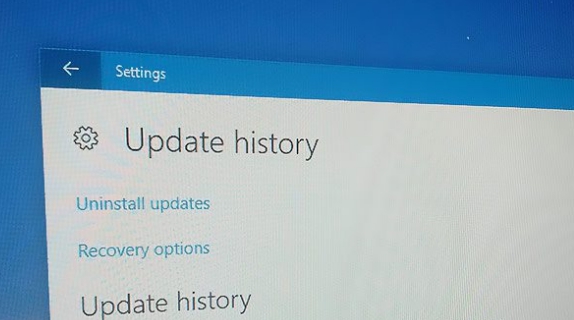
4 – Click the Update History link.
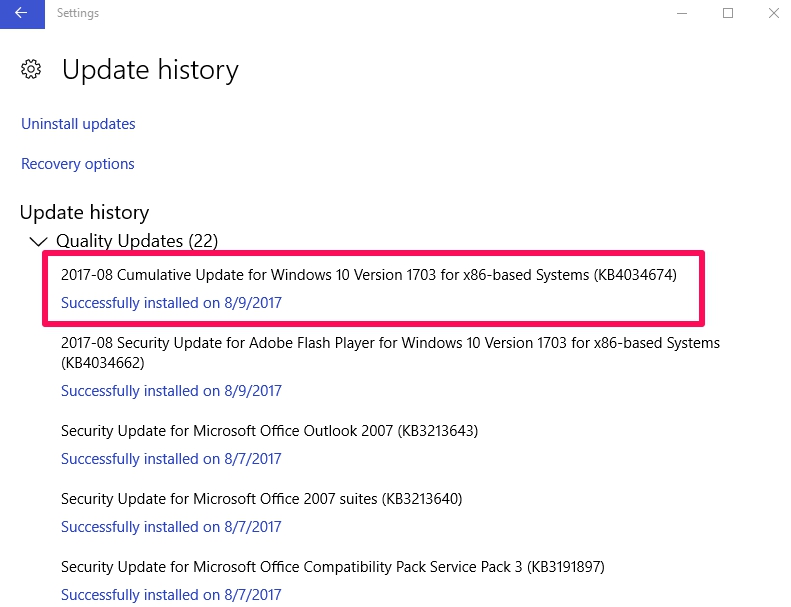
5 – When you get to the Update History window, you will see a list of all recently installed updates. Every update is shown along with the date on which it was installed on your device and whether it’s been successfully installed or not.
Click on the blue colored link below that update to get a brief description about that update with a More info link to see everything that is included in that update.
However, not all update settings are available in the Settings app yet, this means if an update is causing issues, you will need to click Uninstall updates link from the Control Panel to get rid to that particular update.
How to See Windows 10 Update History through Command Prompt
Yes, you can use Command Prompt to see the update history on Windows 10. Here is how:
1 – Click Start (Windows logo) on the bottom left corner of the desktop screen.
2 – Type Command Prompt and click on it from search result. Or right-click on Start and select Command Prompt from the list.
3 – Now, type the following command to see the update history and hit enter key:
wmic qfe list
If you want to see a specific update, you can type in its KB number as shown in the command below and hit enter:
wmic qfe | find “4034674”
4 – When the command is executed, you will get a list with a link to the Microsoft support website to find out what is included in that update. You will see the update, description, KB number and more.
5 – All done.
Now if you want to uninstall a specific update in Windows 10, you can use Command Prompt to do so as well. Simple type in this command (use the KB number of the update you want to uninstall) and hit enter to run this command: wusa /uninstall /kb:4034674 /quiet.


