Internet is full of amazing third-party themes for Windows 10. If you have been looking to apply dynamic, 3D custom third-party themes on Windows 10 PC but don’t known how to install them on your computer then see the guide below about how to install third-party themes on Windows 10 (32-bit/64-bit). See instructions below to apply custom themes on PC Windows 10. Microsoft launched Windows 10 operating system last year, it is still relatively new but already developers have produced fanciful third-party themes for Windows 10. However, there is one little problem, Windows 10 doesn’t allow you to install third-party custom themes on Windows 10 PC by default.

Luckily there is an easy fix for this problem. Here we have mentioned a simple guide using which you can apply on your Windows 10 powered computer to get it ready to install custom themes on Windows OS. There is no need to stick to same old Windows themes because now you can easily install 3D, colorful and animated themes on Windows 10 (32bit/64bit) operating system.
Important Note: The guide below and the patcher in it work on Windows 10 November update build 10586 and should continue to work with any proceeding update with build 10586.xxx afterwards. If you have installed updates other than the Windows 10 November build 10586 then you will have to repeat the process below every time after installing the new update since system files that you are going to change with the guide below get overwritten and restored with every new update installed on PC. Also, remember to create a restore point every time before repeating instructions in the guide below after installing the new Windows 10 update.
Update: We can’t confirm for now whether the method below works on Windows 10 Anniversary update 1607. We will post an update after testing it on Anniversary update version of Windows 10.
Warning: Please make sure to create a system restore point on Windows 10 before following instructions in the guide below since it involves tinkering with the system files which could cause damage to Windows copy if anything goes wrong. Use the guide below at your own risk, as it is highly custom process, we will not be responsible for any damage to your PC.
How to Install Custom Third-Party Windows 10 Themes on (32-bit/64-bit) Systems
Patch System
1 – Download Theme Patcher and unpack it on PC to get .exe installer file.
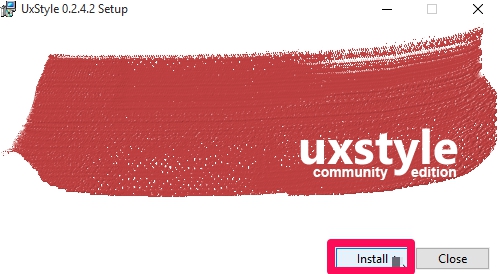
2 – Now right-click the .exe file UxStyle_0242_x86_x64_preview and select Run as administrator from the drop-down context menu and click install.
3 – Run UltraUXThemePatcher_3.0.4 as administrator and follow on-screen setup instructions as prompted.
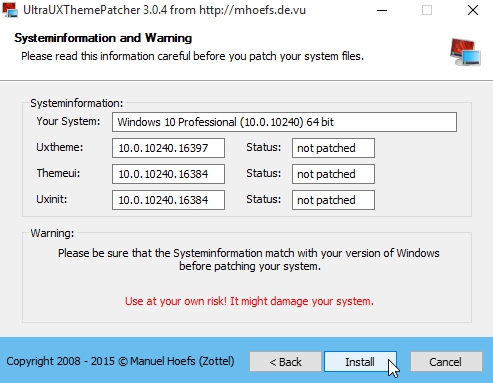
4 – Restart the PC after installing the tool.
When the PC restarts, follow third-party theme installation instructions mentioned below. If it does not work on your PC then restore default Windows 10 theme and follow instructions to step 8.
Install Third-Part Theme on Windows 10 (32-bit/64-bit)
5 – Download any third-party theme you want to apply on your PC and extract the zip folder. Copy the content of the unzipped folder and paste it to Windows > Resources > Themes folder inside the Windows installation directory.
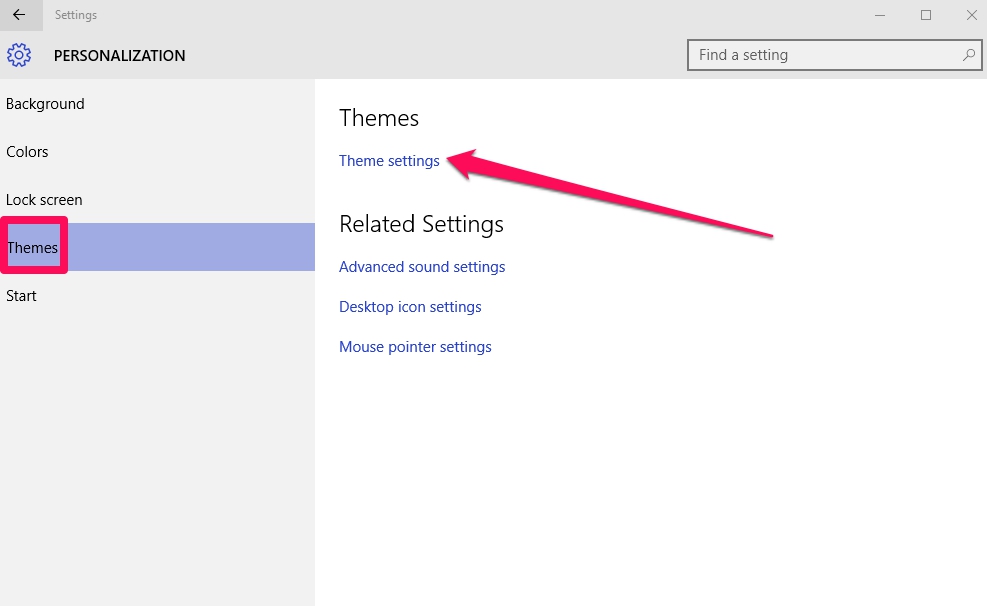
6 – Right-click on an empty space on the desktop screen and click on Personalize. Then select Theme in Settings window and click on Theme Settings option on the right window pane.
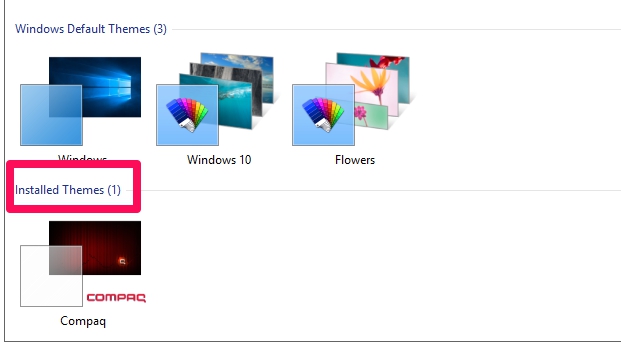
7 – Scroll down on Themes Settings window and under Install Themes section select the newly installed theme.
Manually Patch themeui.dll (in case theme doesn’t install)
8 – From the download theme patcher zipped folder from step 1, double-click to install the Add_Take_Ownership_to_context_menu.reg register key in the Take Ownership REG Files folder.
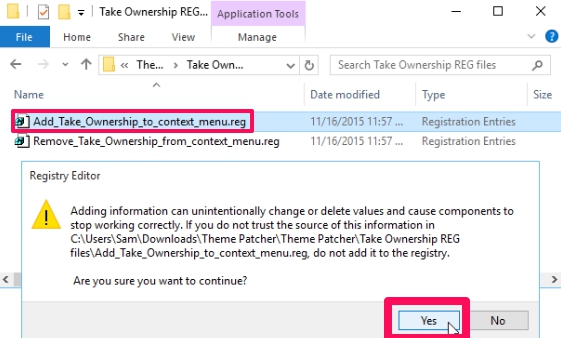
Note: You can use Remove_Take_Ownership_from_context_menu.reg key to later undo the changes made in this step.
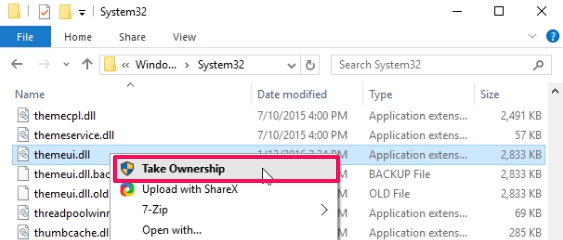
9 – Navigate to C: > Windows > System32 in Windows Installation directory and locate themeui.dll file. To quickly find the file, type the file name in the search box on top-right corner of the installation directory window.
10 – Right-click on the themeui.dll and click Take Ownership from the context menu.
11 – Next, right-click on themeui.dll file again and select Rename from the drop-down menu this time. Give the file a new name, let’s say ‘themeui.dll.ins” and click YES followed by Continue. This will backup the original file which we are going to replace in the next step.
12 – Go to the folder where you extracted the Theme Patcher folder in the first step and copy the themeui.dll file from inside File Patcher x86 (32bit Windows 10) or File Patcher x64 (64-bit Windows 10) version depending on your Windows 10 copy, and paste the file into System32 folder.
To find out your Windows version, right-click on This PC icon, select Properties, there you will see if your Windows copy is 32bit or 64 bit. Or go to Control Panel > System and Security > System type about your PC in the search box to find system type information.
13 – Follow steps 5 to step 7 again to apply a custom third-party theme.
That’s all. If you have any queries, do share with us in the comments section below.
Also See on Appsforwin10:
How to Set Windows 10 Dark Theme
5 Best Windows 10 Themes HD Free
Download Windows 10 theme for Android Phones.