OneDrive is Microsoft’s cloud storage service that comes pre-installed with all latest Windows 10 versions and is considered among the best cloud storage services on the internet. Using this cloud service you can save any document or file on cloud servers if they take up too much hard drive space or if you want to access them from any device later on without carrying them around with you in external physical device like USB or external hard drive. Easy sharing of files and folders from OneDrive is one of its positive aspects. You have the complete control over who can view and edit files shared by you, and they can do so without installing any extra app or creating new accounts. Here you will get to know a simple way of handling OneDrive files & folders; learn how to share OneDrive files saved on Windows 10 PC from OneDrive folder.
OneDrive assimilation into the Windows OS started with Windows 8.1. It became one of the universal Windows apps that came pre-loaded with new Windows copy. It made saving, copying, sharing and managing important files and folders less cumbersome. No matter where you are in Windows OS, you can share and upload files from OneDrive without having to open OneDrive app or visiting its web version first.
OneDrive app cannot be uninstalled as it’s been embedded as part of system apps on Windows 10. In fact in Windows 10 OneDrive integration has been noticeably improved via File Explorer folder. If you have accidentally deleted some OneDrive file that you want to share then worry not because there is an easy fix for it, click here to know how you can recover deleted OneDrive files.
Sharing OneDrive File/Folder from PC
When you share any file from OneDrive it automatically creates a link for recipient. This feature is helpful specially when you share OneDrive files through emails. Many times it happens that attachment fails to upload because it being too large for the server to handle. Sharing files via links created by OneDrive makes it faster and convenient to send and receive documents by emails or social media platforms.
Below are the instruction using which you can manage ‘share’ options of OneDrive Windows 10 folder.
How to Share Files via OneDrive on Windows 10 PC:
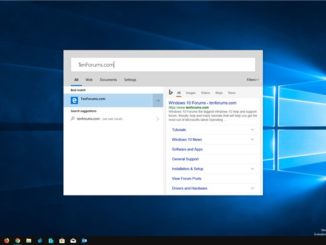
1 – Open File Explorer by click on the folder icon on Windows task bar.
 2 – Click OneDrive folder list just under other system folders on the left-hand side of the File Explorer window.
3 – Right-click on the file or folder you want to share and select Share a OneDrive Link option from context menu.
4 – OneDrive will create a file/folder link which you can then send to the recipient.
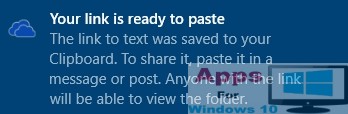
5 – Open email or text service to paste file or folder’s OneDrive link in the body of the post and send it to the recipient.
That’s it, this is the simple way of sharing OneDrive file and folder links from Windows 10 in just a few clicks. Although the link created will only open the file/folder it was intended for, but there is no guarantee that only the recipient it was meant for will open it on the other side. In the age of internet frauds taking preemptive safety measures is of paramount importance in order to ensure the secure delivery of your important personal documents to the right person. Therefore, having a complete control over the decision regarding who can just read and who can read as well as edit your files is essential.
How to share OneDrive files/folders using web interface
For better control over who can view and edit your files on OneDrive we suggest you use web interface of OneDrive cloud service. Web interface affords you the ability to share with specific emails.
1 – Open OneDrive folder in File Explorer.
2 – Right-click on the file/folder you want to share and select More OneDrive Sharing Options from the context menu.
3 – Default web browser windows will open containing OneDrive sharing options like the one shown in the image below. You might be required to sign-in with OneDrive account as well.
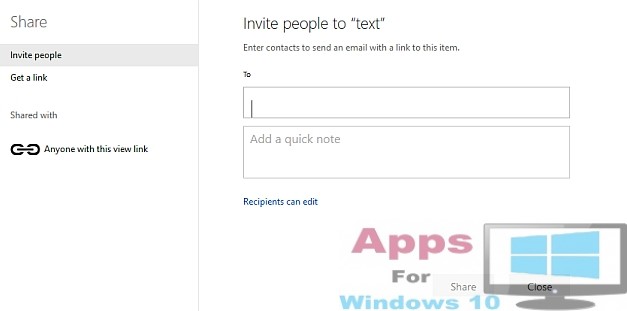
4 – Now you see two options on left pane under Share which are Invite people & Get a link. Lets take a look what these two options do below.
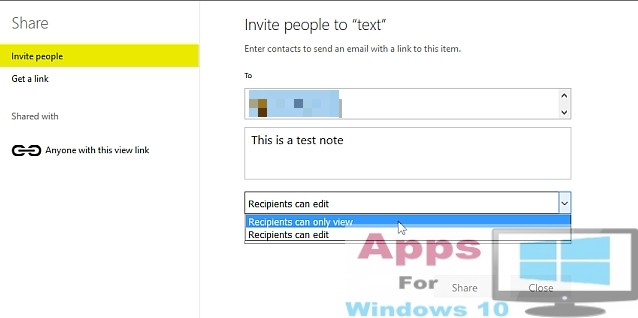
Invite people option lets you decide who you want to have access to the link of OneDrive file or folder for viewing and editing them, you can remove people from the list later in case you decide to revoke access. Type email addresses or names of recipients in the ‘To’ box on the right pane of the window. You can add a note if you like; it’s optional. There are two permission options; recipient can edit and recipient can only view. Shared files can only be downloaded, viewed or copied in recipient can edit option. If you choose recipient can edit option then receiver of OneDrive file link can make changes to the file via Office 365 or Windows Office suite without signing in. However, signing-in with Microsoft account is prerequisite for adding or deleting files from folders.
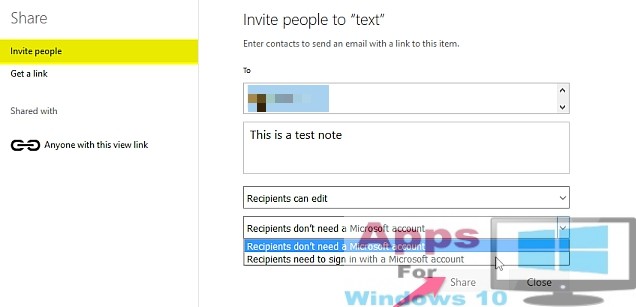
One thing you should be aware of is that files forwarded by anyone in ‘recipient can edit’ list can also be edited by other users. They can invite others to edit files which you sent them, it could raise some security concerns as well. In that case just go back to the share settings window and remove the person from ‘recipient can edit’ list.
In order to prevent people from accessing files/folders forwarded by recipient of your OneDrive file, select the option Recipient need to sign in with a Microsoft account. Next click Share button at the bottom of the settings window and it’s done.
Get a link for OneDrive file/folder to share
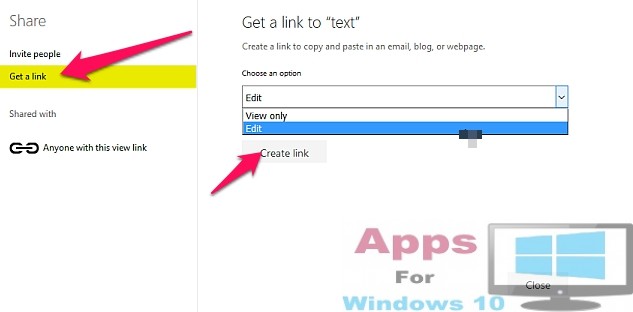
Once you have decided on recipient settings, next and final step is to get the link for the file to share with the recipient. You can send these links via emails, share them on Facebook, Twitter, LinkedIn or send it in a text message. At the time of getting a link choose View Only option if you want receiver to only read, copy or download that file or folder, otherwise, select Edit to allow receiver the permission to amend files and folders as they see fit. After that click Create Link button below to generate link.
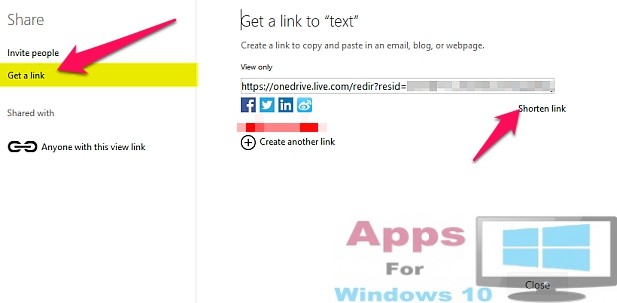
If you find link generated being too long to be posted on social networking sites or send via email or text message then click on Shorten Link button below the link. You have the option of creating more than one link for any given file or folder.
All done. It is as simple as this to share OneDrive files and folders all the while ensuring complete security and control over your documents. Do keep in mind that whichever cloud service you use, managing permissions shrewdly when sharing is important for making sure that your stuff doesn’t fall into wrong hands.
For More, Read: Best New Cloud Storage Services for PC Windows 10 & How to Save Money on Office 2016 for Windows 10