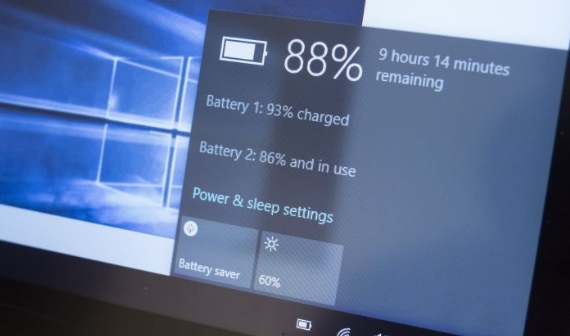
Managing laptop battery to lengthen its useful life requires proper management. But when you know how to check laptop battery status on your Windows 10 laptop, it makes life easier as you can easily keep track of battery condition. When your laptop battery stops holding charge, you know its time to replace it before it causes damage to your device. Here’s how to find out Windows 10 laptop battery health.
If your laptop requires plugging to a power source after every few hours you know something is not right with the battery. You should immediately check the battery health status to ascertain the underlying issue that’s causing fast drainage.
Battery life has always been a constant issue with laptop, not matter what the brand. No laptop manufacturer has been able to master the art of developing a battery that is free from charge cycles limitations. On most laptops, battery lasts a certain number of charge cycles after which it can no longer hold juice, thus requiring constantly plugging laptop to a power source.
Signs of low battery on a laptop include: lowing brightness of your device’s display to no effect, even disabling WiFi and other network connection that consume more battery power fail to resolve fast battery drain issue, even if you stop watching videos and graphics intensive games or apps, but your laptop can’t still hold its charge, it might be the time to consider replacing the battery.
On Windows 10, you can easily check laptop battery’s health to find out when to replace it with a new one.
In this guide below, we are going to show you how to use the powercfg command-line too to generate a report of your laptop’s battery to learn if it requires changing.
How to Generate Laptop Battery Report on Windows 10
1 – Open Start.
2 – Type Command Prompt and right-click on the the search result and select Run as administrator.
3 – Now, enter the following command to see a battery report:
powercfg /batteryreport
4 – Command execution will show a message indicating the location of the report.
5 – Double-click the battery-report.html file which will take you to a default browser.
6 – Here you will see a complete battery status of your Windows 10 laptop.
7 – All done.
The battery report generated by Windows 10 contains a lot of useful information, including basic battery information such as make and model. Battery capacity history showing the pattern of battery depletion over time. And battery life estimate, indicating how long your battery is expected to last in its current condition and the time period before it will require replacement.
Along with the above mentioned information, the most important bit of data about laptop battery relates to the ‘design capacity’ and ‘full charge capacity’.
When to replace laptop battery on Windows 10
The ‘design capacity’ information in the battery report tells you how much charge it could hold when it was brand-new. And ‘full charge capacity’ bit means how much charge the battery can hold in its current stage. This is the information that should interest you the most.
Some laptops allow you to replace battery simply by pressing the a button to pop the battery out and insert a new one. However, on new notebooks and laptops that come with built-in batteries, replacing them requires taking your device to an expert.
First of all, check with your manufacturer to see if your laptop battery still has warranty left on it and could be replaced via official source without any extra cost. If not, then you can search the web to look for a better deal on your device’s battery model. Replacing laptop battery with the genuine battery is considered a better option as it ensures it will last longer than third-party batteries.


