World’s best android emulator BlueStacks has received its first ever update and is now launched with the new name BlueStacks 2. New version of the BlueStacks app player has a completely revamped User-Interface, hence, enhancing user experience with fresh aesthetics. Developers decided to celebrate reaching 100 million users by giving loyal customers a whole new version of their favorite android emulator. When BlueStacks was first launched its aim was to allow those who don’t have android mobile and tablet devices to play android apps on Windows PC and MAC desktop/laptop or tablet. BlueStacks 2 for PC turns your computer into a virtual android device which plays android games and apps seamlessly with all original features and graphics. In this post we have latest BlueStacks 2 download links for you. Here we have BlueStacks 2 direct download link, Mirror Link, official Links for Windows and MAC PCs and then we will show you how to install BlueStacks 2 on PC to run Android apps on computer.
BlueStacks 2 for Computer is a complete departure from the previous version. You will notice a whole host of changes introduced by the developers based on customers feedback. BlueStacks 2 works like a charm on Windows 10, Windows 8.1, Windows 8, Windows 7 (32bit/64bit) as well. Now let’s look at the changes introduced in new BlueStacks 2.
Main Features of BlueStacks 2:
1 – Multi-tasking
Last version of BlueStacks lacked multi-tasking feature which most users complained about. Android devices these days pride themselves on their multi-tasking features but Windows & Mac users of BlueStacks were unable to access this vital feature in the previous iteration of BlueStacks. Developers listened and now with BlueStacks 2 for PC Windows and MAC users can open and play multiple apps together. UI of BlueStacks 2 is reminiscent of internet browsers such as Chrome, Internet Explorer, Firefox letting users open multiple applications side by side just like you open many websites on web browsers. You can switch to any app by clicking its tab, now text on WhatsApp in one tab while continue to play games in another. You can also download new app in one tab while already playing game in another app at the same time. Share files from PC on android devices, upload pictures on Instagram and other social networks straight from your computer via BlueStacks 2.
2 – Simple and Efficient Interface
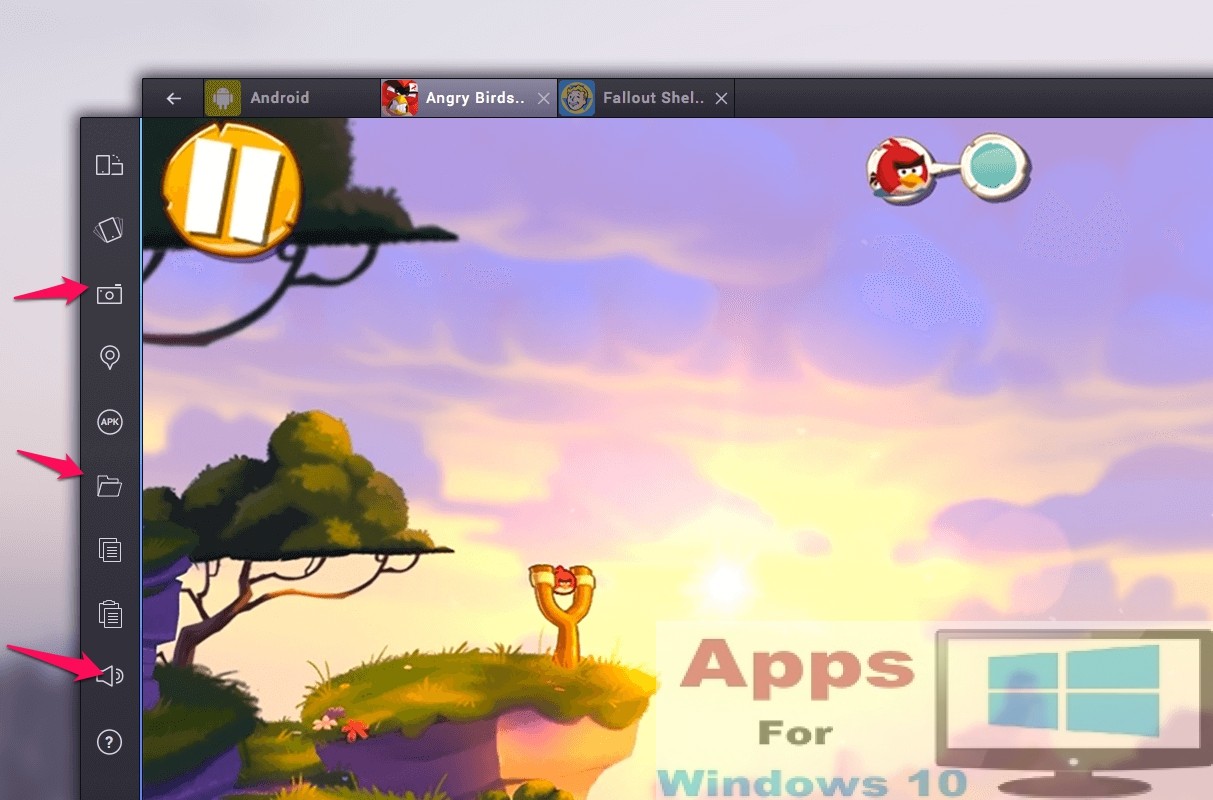
BlueStacks 2 for Laptop has a new toolbar on the left side of the screen containing many new options. Now setting and changing location, adjusting screen and volume settings is a matter of a click away. You can also save or upload images and clips to and from PC using the button on the left toolbar. Another new feature which the previous version of BlueStacks lacked is that you can switch to full screen mode by clicking full screen button on the new toolbar.
3 – Optimized Apps
In BlueStacks 2 many new apps have been added to widen the range. Over a billion android apps are played on BlueStacks every month. On users’ demand many famous apps have been optimized for BlueStacks 2, so now you can play your favorite apps on full screen with crystal clear graphics and without any worry of them crashing unexpectedly.
BlueStacks 2 for Windows 7/10/8/8.1/XP and MAC OS/OS X has a new section which lists the most popular apps currently being played on BlueStacks android emulator. This list of top apps is assembled based on the BlueStacks users app downloading pattern from across the world. So latest hot apps are at your finger tips, you don’t need to search for them.
Download BlueStacks 2:
Click on the links below to download BlueStacks 2 and see the guide after that to install and setup the Android App Player to run Android apps on PC.
Download BlueStacks 2 for PC Windows & MAC: Link
BlueStacks 2 Installer for PC: Direct Download Link | Mirror
After downloading latest BlueStacks 2 version on PC, see how to setup the emulator tool to run Android apps on PC.
How to Install BlueStacks 2 on PC Windows and MAC
1 – Download BlueStacks 2 from the above links.
2 – Launch the setup file to begin the installation process.
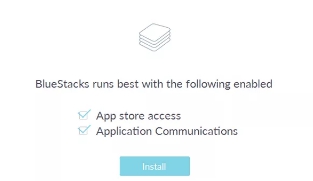
3 – Enable ‘App store access’ and ‘application communication’ options during the setup and click Install button.
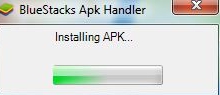
4 – Wait for the installation to complete.
5 – Now open BlueStacks 2 emulator tool on PC from the location where you installed it on your Windows PC or MAC.
6 – Next, to jump to the BlueStacks 2 Settings menu, click on the small gear icon on the top-right corner of BlueStacks 2 interface.
7 – Navigate to Settings > Open Add Account > Google or BlueStacks Account.
8 – Enter your existing gmail account, if you have one. If not, then click on the ‘Create New Account’ option and setup a new BlueStacks account.
9 – After setting up your gmail account on BlueStacks 2, you will be taken to a new One time setup screen.
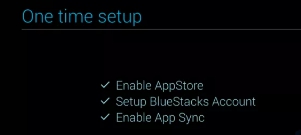
10 – Click ‘Continue’ button on One Time Setup screen and enter your gmail account username and password once again to complete the setup process.
Now lets see how you can run Android apps on BlueStacks 2. There are two ways you can run apps on BlueStacks 2: Google Play Store method and the APK file installation method.
How To Run Android Apps BlueStacks 2 for PC – Google Play Store Method:
1 – After installing BlueStacks 2 with Google account on PC, now lets see how you can run apps on it.
2 – Open BlueStacks 2 and click on the ‘Android Tab’ at the top of the interface screen.
3 – Under ‘Android’ tab, click on the ‘Search’ button and type in the name of the app/game you are looking for.
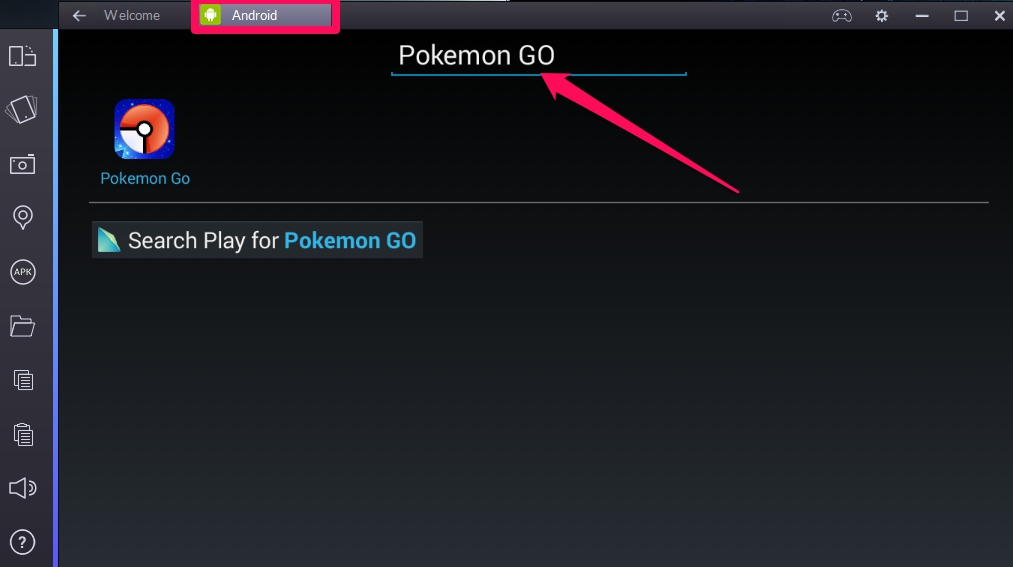
4 – Now either click on the “Search Play for App/Game Name’ link as shown in the image above or hit enter to open Play Store inside BlueStacks and click on the app icon to go to the Google Play Store app installation page.
5 – Now click on the Install button on the Play Store app installation screen and wait for the it finish.
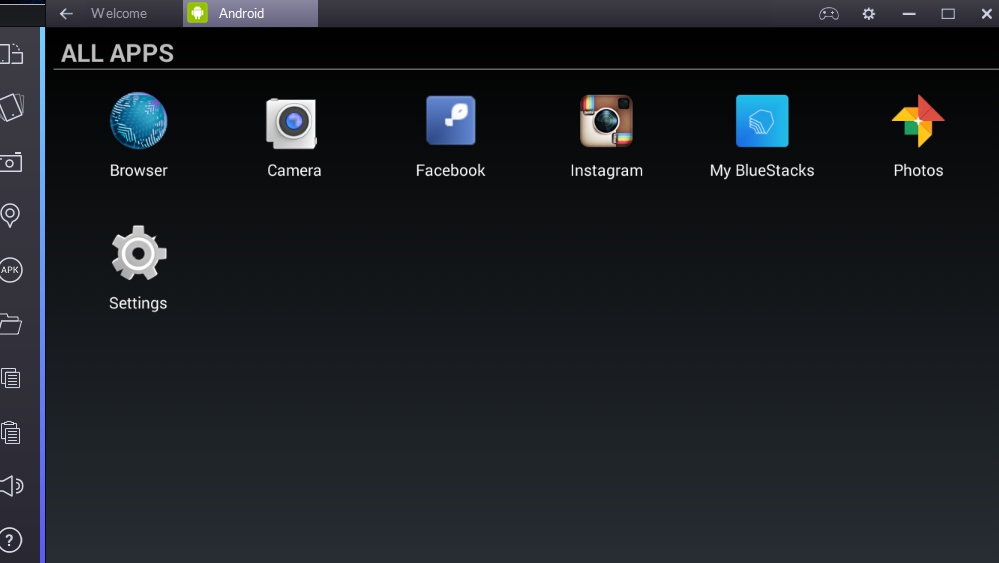
6 – After the Installation, click on the Android tab and then click ‘All Apps’ icon to access the newly installed app or game and start playing.
How to Run Android on PC via BlueStacks 2 – APK Method:
1 – Download APK file of the app or game that you want to install from the internet and save it on your PC.
2 – Open BlueStacks 2 emulator tool on computer.
3 – Click on the APK icon on the left toolbar on BlueStacks 2.
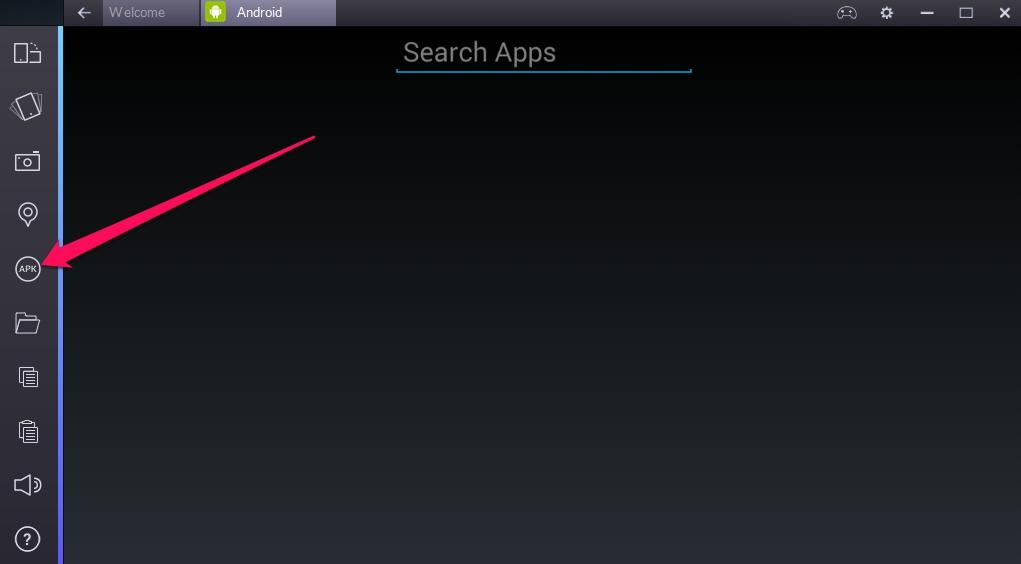
4 – Locate the APK file on your PC and install it.
5 – Or you can just click on the downloaded APK file to directly install the app on BlueStacks 2.
6 – Now Click on the Android tab and go to ‘All Apps’ where you will find the installed app.
7 – Click on the app icon to open it.
8 – That’s all.
Also See: 5 Best Windows 10 Themes HD Free OR Download Android Games on Windows 10. [ Guide ]

How do I get the buttons at the bottom to work? how can I get to the home screen that has wallpaper? this sucks.
bluestacks 1 was great, wtf